Raid Mode rundown part 2 – Skills, enemy abilities and more
Feb 16, 2015 // Minish Capcom
Not long ago we ran you through some of the basics of Raid Mode , the run & gun bonus mode in Resident Evil Revelations 2. While the core experience is largely the same as Revelations 1 (play maps to get better loot to make better weapons to grind harder maps to get better weapons to… you get the idea), there’s a LOT of new content in the mix.
-SKILLS-
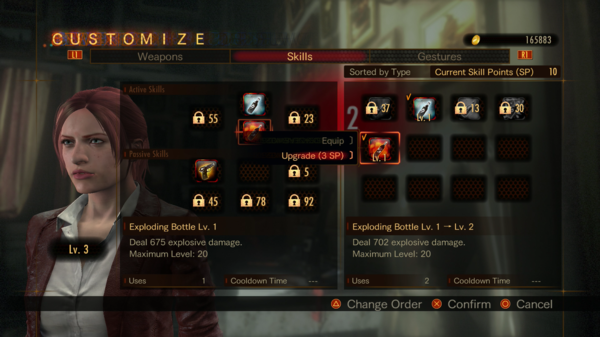
Each of the 15 playable characters begins the game with a small number of skills. As you grind maps and gain levels you’ll gain Skill Points and be able to unlock, equip and improve a huge assortment of abilities. Above, I’m upgrading one of Claire’s starting powers, the Exploding Bottle; it’ll now deal more damage.
Also note all the “locked” slots. These are level requirements – get the character to that level, and you’ll be able to equip additional weapons, unlock new skills and more. For example, Claire begins with two Passive Skill slots. At level 5, another slot will open, another at level 45 and so on.
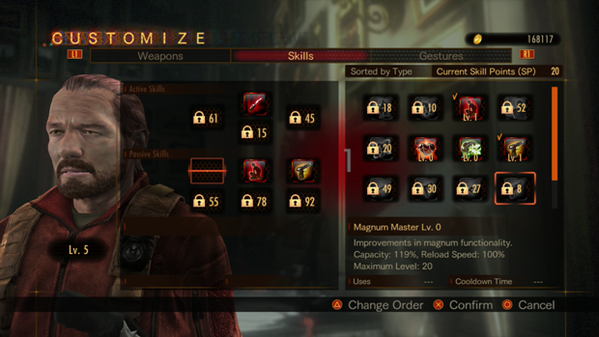
And here’s Claire vs Barry at level 5. They have different Skills available at the start, making each character feel a bit different right away. Barry also gets his third weapon slot faster than Claire, which makes sense given his “buddy system” relationship with guns.
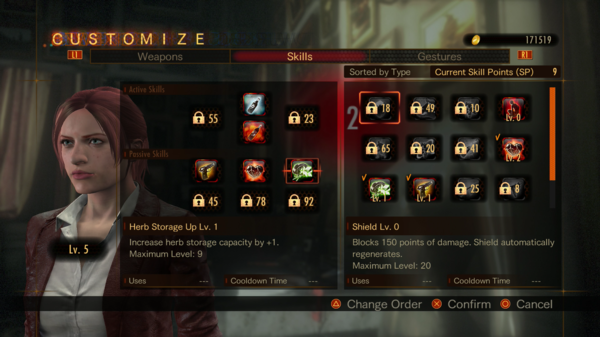
Back to Claire – I’ve unlocked and equipped Claire’s Herb Storage, while on the right you can see Shield, which will be available at level 18. This process continues well into Raid Mode, as you can see; level 92 and you’ll still be unlocking slots! The more you have, the more abilities you can equip and use to tackle some of the later, more challenging Raid maps.
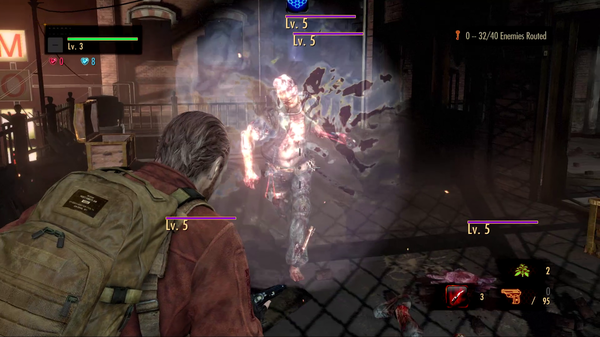
–ENEMY ABILITIES–
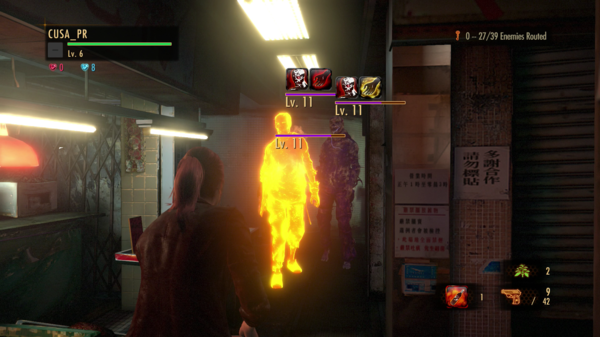
As in the original Raid Mode, some enemies have modifiers that make them even more formidable. As seen above, these enemies will have icons that call out their powers… or you can look at them and get a good idea. While both of these enemies are larger than normal (first icon), one is on fire and another exudes electricity. The former will burn you and deal damage over time, while the latter puts you in a “shocked” state where your defense will be lowered for a period of time.
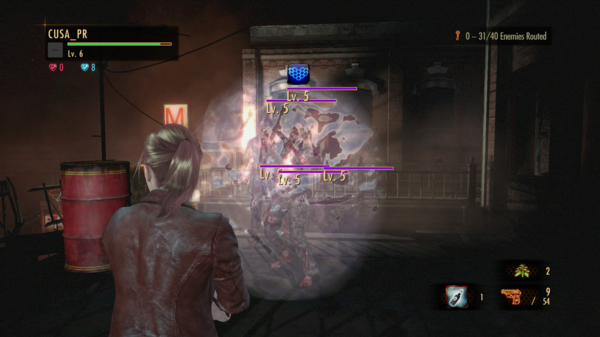
And then there’s the force field power… this guy’s shielding not just himself, but anyone directly behind him. Gotta get around that shield if you want to deal more damage…
Other abilities that’ll keep you on your toes:
“Attractor” – A mysterious light pulls your character towards them. Protect yourself using obstacles or keep your distance.
“Sprinter” – Small but fast; underestimate them and you’ll pay a painful price
“Coat of Armor” – High defense, low health. Especially weak to critical hits. Can gain a lot of exp from defeating them
“Vanish” – Invisible enemies. Find them through their dust cloud, and by setting your sights upon them
So, this seems like a tall order for our cast, no? The good news is that the Raid Mode roster can also dish out different types of damage and status effects thanks to the aforementioned Skills and new Custom Parts.
–CUSTOM PARTS–
As in RER1, you can acquire Custom Parts in each mission and use them to spruce up your ever-growing arsenal. However, this time around you’ll be able to give your guns ice and fire ammo (plus even more), or make your bullets track enemies, or give your final bullet more power or… you get the idea.
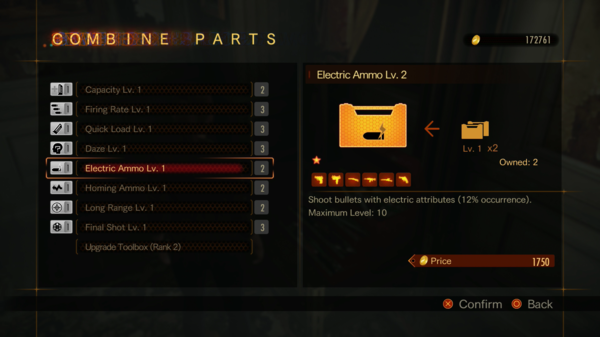
The image above shows the “combine parts” menu; here you can combine weaker custom parts into new, stronger versions that’ll be necessary for some of the harder missions. Unlock two Electric Ammo Lv.1 Custom Parts? Combine them and form a Lv. 2 version!
–IN-GAME STORE–
While most Capcom Unity readers will look at harder Raid missions as challenges just waiting to be overcome, there will be items that can help new players ease into the escalating madness that is Raid Mode.
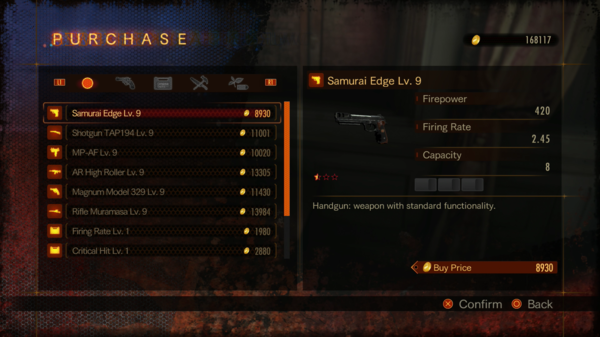
As with RER1, you can buy all kinds of weapons and parts using the in-game currency earned by completing missions (BP in RER1, Gold in RER2), OR visit the real-world PlayStation/Xbox/PC storefronts for weapon/custom part packs akin to what you saw in RER1. There are also some items new to RER2.
Blue and Red Life Crystals allow you to respawn immediately with full health. Get 10 minutes into a map, lose and don’t want to start over? You can come back to finish the fight, but at the cost of a Blue Life Crystal. These are obtained by completing Daily Missions within Raid Mode, and you begin the game will some as well.
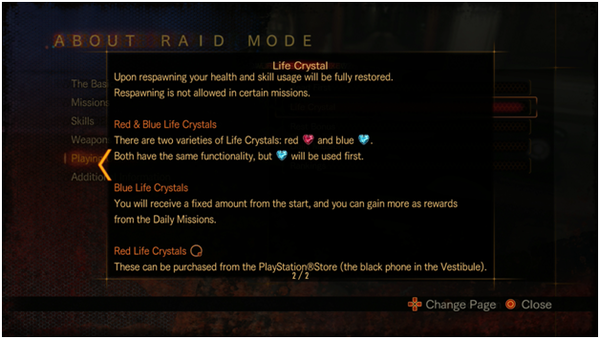
Should you run out of Blue Life Crystals or don’t have the time/desire to play the Daily Missions, you can also buy Red Life Crystals in the PlayStation, Xbox or PC stores. These are optional of course, and running out of either/both simply means you can’t respawn mid-mission (which was the case in RER1). Some missions don’t even allow respawning, so sooner or later you’ll have to get through on your own skill if you want to see all the missions.
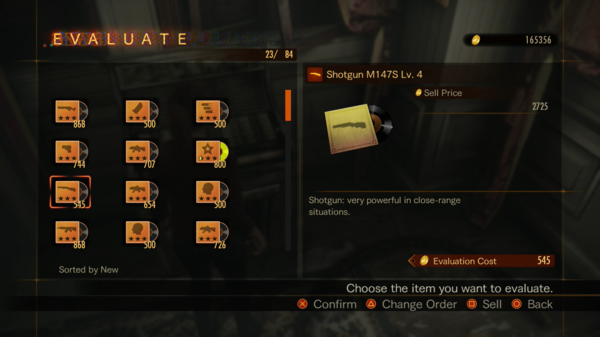
Up above are some of the unevaluated “albums” you find as loot drops. Once you’re back in the hub area, you can unlock the album and gain whatever was inside (like guns, Custom Parts etc). Since these are random drops, some guns or parts will be slightly better or worse than others – basically like RER1. I tend to sell off items I don’t want or need, but if you want to amass a heaping pile of albums and weapons, you’ll be able to increase the storage capacity.
When you pick up Episode 1 on February 24 (PS3/PS4) or February 25 (360/XONE/PC), it will include Claire and Barry’s story mode content AND 54 Raid Mode missions spread across three difficulty settings. When subsequent episodes release they will also contain numerous additional Raid Mode maps – Episodes 2 and 3 will each add 36 missions to the mode, while Episode 4 tops things off with another 68 missions. All told there will be over 200 increasingly difficult missions.
To list it out, Raid is split into numerous Gauntlets, each of which contains six Raid missions that come in Easy, Normal and Hard difficulties. If you can clear them all, you’ll access an ever greater challenge…
EP1 : 3 Gauntlets x 6 Missions x 3 Difficulties
EP2 & 3: 2 Gauntlets x 6 Missions x 3 Difficulties
EP4: 2 Gauntlets, one of which you’ll have to finish and see what happens…
We’ll have even more Raid info soon!
-
Brands:Tags:
-

Loading...
Platforms:
