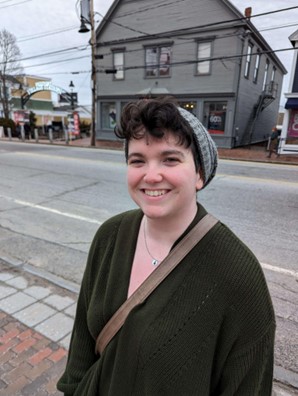
In this last day of February, we’re celebrating Black History Month and the Black Capcom Creators community. Take a moment to get to know these talented creators and what this month has meant to them.
NAME: BigCheese
Pronouns: He/Him
Tell us a little about yourself! When did you start making content and why? How long have you been doing this? What is your main platform (Twitch, YT, TikTok)?
I started making content in 2006. 18 Years. Twitch
What was your first Capcom game?
Mega Man
Why is representation important?
It’s important to never forget who you are and to represent yourself to the fullest. While we are looking for equality, we also don’t want to be lost looking for it.
How do you envision the future of gaming?
Where everyone can play their favorite games in peace.
What is your advice for people getting started in content creation?
Have fun and make an impact.
What are your Twitter and Instagram handles?
@BigCheese
——————————————————————————————————————————-
NAME: MidnightPursona
Pronouns: She/Her
Tell us a little about yourself! When did you start making content and why? How long have you been doing this? What is your main platform (Twitch, YT, TikTok)?
I started making content in 2009 but it was a bit harder back then & I use all the platforms, but I use TikTok the most.
What was your first Capcom game?
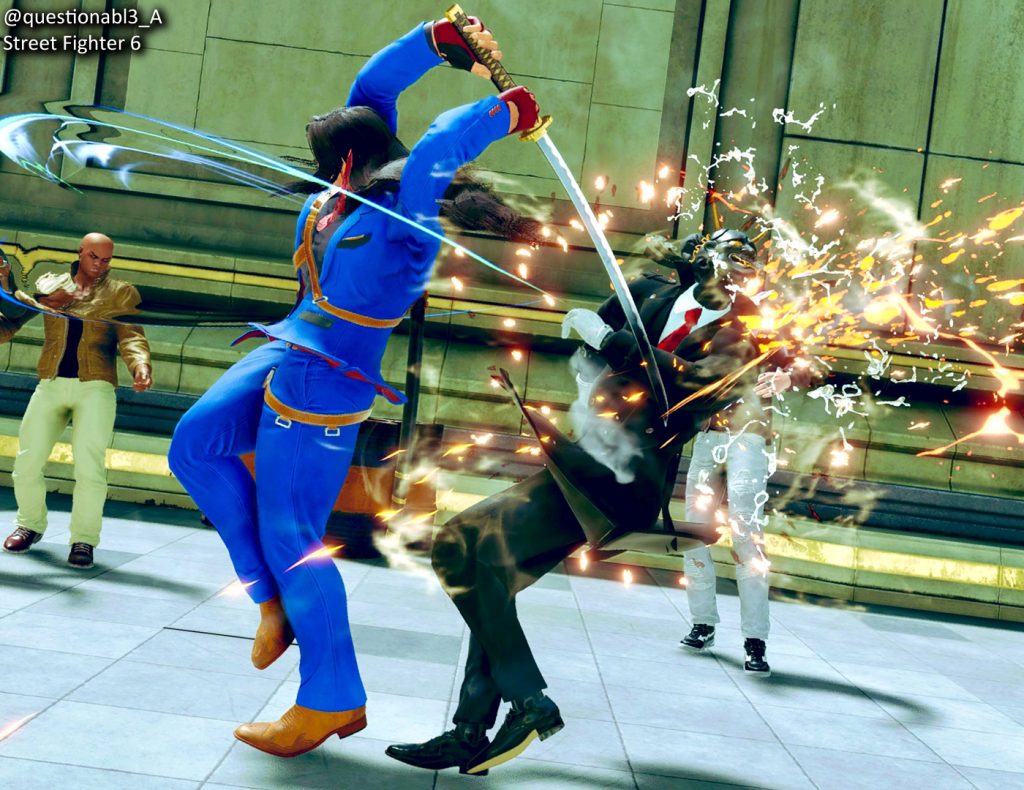
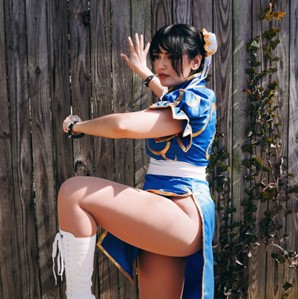
Street Fighter
Why is representation important?
Because I grew up without seeing anyone who looked like me. I never felt welcome in these communities until I created my own community.
How do you envision the future of gaming?
Less toxicity and more inclusion
What is your advice for people getting started in content creation?
Find your people, post the things you love no matter what people say, and take breaks!
What are your Twitter and Instagram handles?
MidnightPursona
——————————————————————————————————————————-
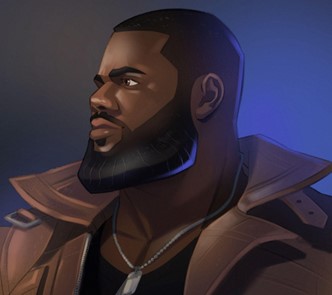
NAME: RashadtheWizard
Pronouns: He/Him
Tell us a little about yourself! When did you start making content and why? How long have you been doing this? What is your main platform (Twitch, YT, TikTok)?
I am the captain of The Posse, a group collaborative based in Mississippi of my best friends who stream and promote community and unity for all gamer/anime/manga fans.
What was your first Capcom game?
I think Marvel vs. Capcom 2 but I was 5 when it came out. I’d like to say my first one I remember was Mega Man Zero. My first gamertag came from that game.
Why is representation important?
Representation is important because people need to know that there are characteristics about people that can be both different and beautiful to know. It’s so important that the youth grow up and learn to embrace the traits they know lead them deeper towards understanding and then loving themselves. The cultural impact of being able to learn about another’s origin and upbringing is important in being able to understand another’s motives, as well. For me, understanding is the first step towards love.
How do you envision the future of gaming?
I envision the future of gaming in a way that allows others to experience and play with their friends anywhere and everywhere.
What is your advice for people getting started in content creation?
The key really is hope in everything you do. Envision yourself doing something original and special to you and set out to create that, working around all limiters/doubters.
What are your Twitter and Instagram handles?
ThePosse_
——————————————————————————————————————————-

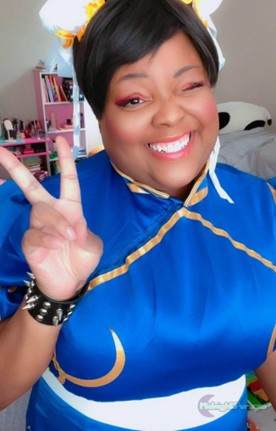
NAME: SapphireStarz11
Pronouns: She/Her
Tell us a little about yourself! When did you start making content and why? How long have you been doing this? What is your main platform (Twitch, YT, TikTok)?
I’ve been making artwork for the series I love since I was a little kid, and that love never stopped! I’ve always adored making OCs and fan art for the series I enjoy, and I’m super happy it brought me here as a creator! My main platform for posting my artwork is on Twitter and Tumblr, but I also play games on the ShadowRockZX YouTube channel!
What was your first Capcom game?
Mega Man 5
How do you envision the future of gaming?
I want the future of gaming to be a space where anyone and everyone can come together and laugh, live, and love each other. It should be a space where we can all together and share what we hold dear to us, and support one another; and I hope to help build that future with my artwork.
What is your advice for people getting started in content creation?
Do it as a hobby first, as a passion and let it bloom from there! It’s never too late to start, and if it’s something you wish to do, there are many avenues to do so.
What are your Twitter and Instagram handles?
SapphireStarz11
——————————————————————————————————————————-
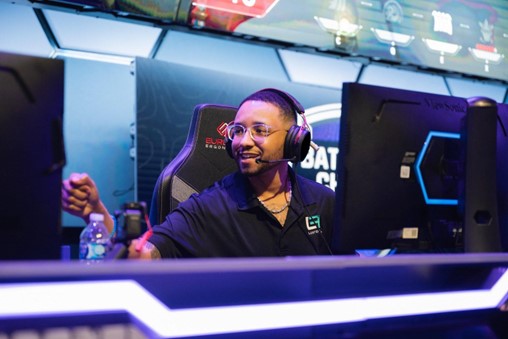
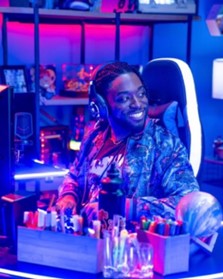
NAME: KarimCheese
Pronouns: He/Him
Tell us a little about yourself! When did you start making content and why? How long have you been doing this? What is your main platform (Twitch, YT, TikTok)?
I started creating content in 2018 after multiple opportunities fell through for professional soccer. I have been streaming for about 6 years now and my main platforms are Twitter, TikTok & Twitch!
What was your first Capcom game?
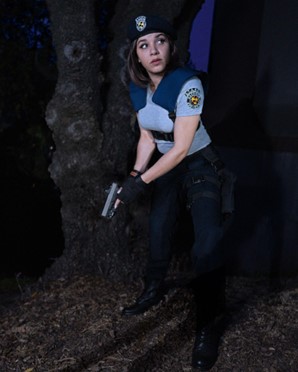
Street Fighter 2 & Resident Evil 2!
Why is representation important?
Representation shows our younger generations of black creators that they too can be a beacon for someone else in the future and push for equality in this industry 🙂
How do you envision the future of gaming?
Diverse & Accepting while pushing the boundaries on development and making greater games in the future!
What is your advice for people getting started in content creation?
Just upload no matter what equipment you have starting is 50% of the battle and sometimes you can be holding yourself back from greatness 🙂
What are your Twitter and Instagram handles?
KarimCheese


