Confirmed: Mega Man X 3D pop-art truly amazing
May 09, 2014 // Yuri Araujo
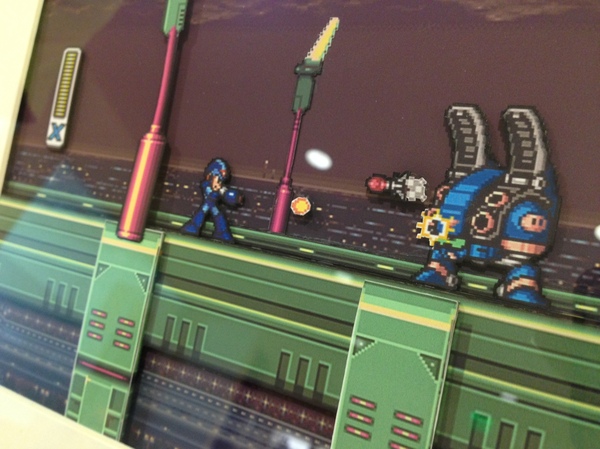
Remember this amazing piece of fan art? Turns out it’s even more amazing in person!
Turns out the artist, Mav , saw my post here on Unity and contacted me with some info on the creation process of these 3D pop-art pieces. Then he SENT US ONE OF THEM!!!
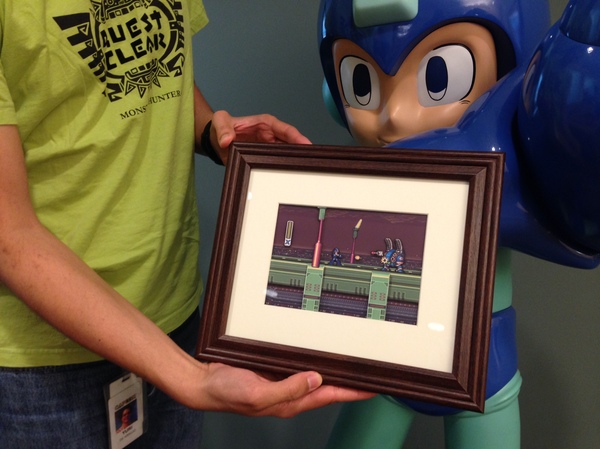
We immediatelly took the framed Central Highway scene to our lobby to take a picture with our life-size Mega Man statue, so you can see that it was really here, in our hands. And let me tell you, this is one of those things that looks a megazillion times better in person.
So as I said, Mav sent us a few insights on his new hobby, including inspiration, length, tools and a pro-tip; check it out:
Insipiration
Nostalgia plays a big role in the art I put out. More often than not, I’m inspired to create a piece that brings a part of my childhood into existence, and that memory to life. I’m also equally inspired by the content of the game I want to use. A game series like Mega Man has lots of fun vibrant colors that pop out really well, and are enjoyable to look at.
Development length
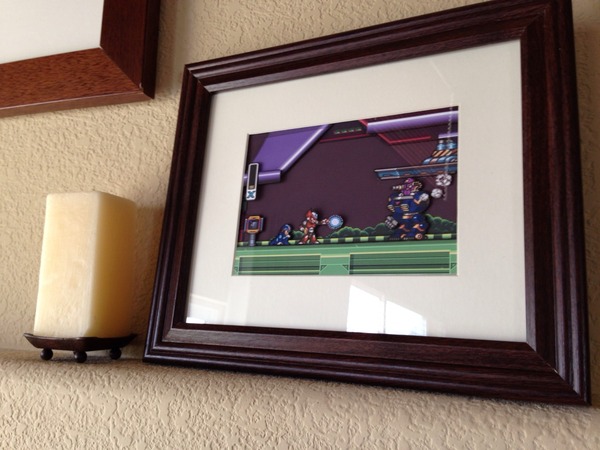
From start to finish, a completed piece can take about 7-10 hours. Once you’ve found an image you’d like to use, you have to edit the sprites and background with a computer so you can layer them properly. Or, you can always use a spriter’s resource online and simply print out all the sprites/backgrounds you’d like to use. After some printing, careful snipping, gluing, and papercuts (hey, it happens to the best of us) your piece will be ready to be framed!
Tools
I use Aleene’s Super Gel adhesive for the bigger pieces, and Elmer’s glue for the lighter, smaller pieces. I also lacquer my work afterward with Mod Podge Matte glue to ensure the colors won’t fade. I can’t recommend buying precision/crafting scissors at a craft store enough. I use EK Success Cutter Bee scissors, and they’re under $10. I also use EKtools crafting tweezers to handle the smaller items, but household tweezers could do this job as well. Just make sure then aren’t too pointy! I use various widths of balsawood and basswood for depth layering, but you can certainly use any cardboard as well. Lastly, I use Sharpie markers to touch up the edges of the piece’s I’ve cut out to make it more polished.
While all these tools are handy to have, you can certainly finish up a piece using just Elmer’s Glue and scissors!
Pro-tip: a good snack and music will make this journey that much more enjoyable 😉
So there you have it… now you know how it’s done, and can even set out to make your own!
And if you want to see more of Mav ‘s work, just head over to his Tumblr page ! He’s got a number of other 3D pieces, including this other amazing scene from MMX’s Intro Stage:
-
Brands:Tags:
-

Loading...
Platforms:
